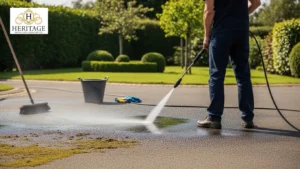
Water sitting on your patio after rain isn’t just annoying. It can crack concrete, loosen pavers, and even damage your home’s foundation. Puddles, slippery moss, and stains are common signs of poor patio drainage.
If you’re dealing with these issues, it’s time to learn how to install patio drainage correctly. This guide will show you simple steps, the tools you need, and the best patio drainage options to keep your outdoor space safe and dry.
Why You Need Proper Patio Drainage
Before we get into tools and trenches, it’s important to understand why patio drainage matters. Water that doesn’t drain properly can cause serious problems over time.
Poor drainage for patio areas can lead to:
- Standing water after rain, creating puddles that just won’t go away
- Cracked concrete or sinking pavers, which can be costly to repair
- Mould and mildew growth make your patio slippery and unsafe
- Slippery surfaces increase the risk of falls
- Water is leaking toward your house, which can damage your foundation
Most patio drainage problems occur because the patio lacks the proper slope or a proper drainage system. The good news is they can be fixed with the right approach.
Step 1: Identify the Water Problem
Every patio is different, so the first step is to see exactly how water behaves in your space. After a heavy rain, walk around and look for:
- Where water collects and forms puddles
- Where it flows from, and check slopes and low spots
- Whether it drains toward your home
If your patio slopes toward the house, that is a big problem. Water should always move away from your foundation to prevent damage.
By identifying the water flow and trouble spots, you will understand the root cause and be ready to choose the right patio drainage solutions for your yard.
Step 2: Choose the Right Patio Drainage Options
There are several patio drainage ideas depending on your setup:
- Channel Drain (Trench Drain) – A long grate that collects water and directs it away. Best for large concrete patios, areas near doors, or flat surfaces.
- French Drain – A perforated pipe buried in gravel to redirect underground water. Ideal for patios near slopes or in areas prone to heavy rain.
- Dry Well – Collects underground water and allows it to soak into the soil. Works well in areas with good soil drainage.
- Regrading the Patio – Sometimes simply adjusting the slope so water moves away from the house solves the problem.
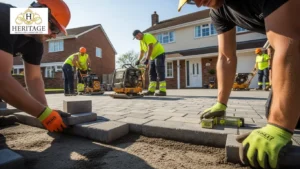
Step 3: Tools and Materials You’ll Need
Before you start, gather the right tools and materials to make the job easier and reduce the risk of mistakes. Depending on the type of patio drainage system you choose, you may need:
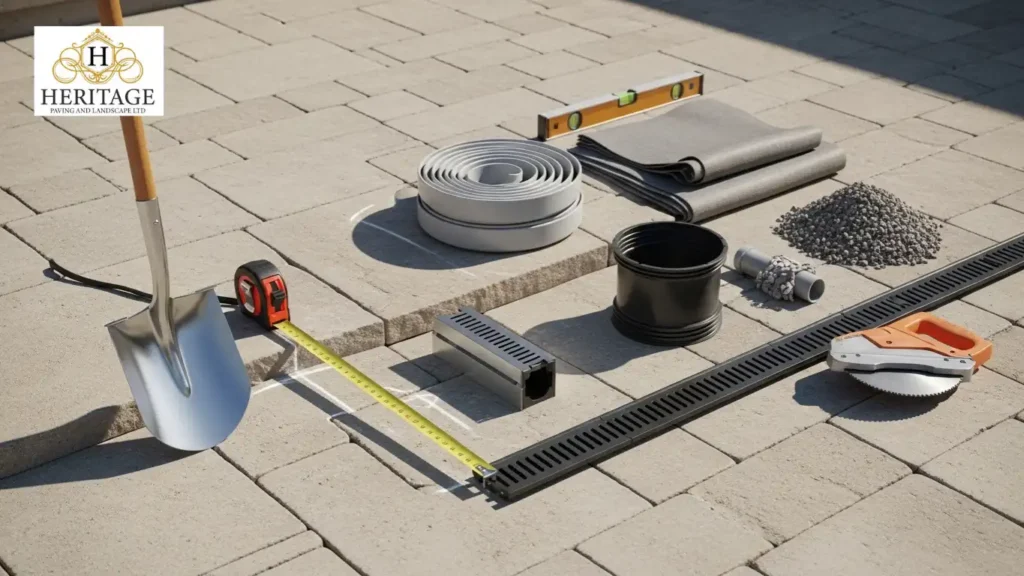
- Shovel for digging trenches
- Tape measure to mark accurate lines
- Level to check slopes
- Gravel for drainage and pipe stability
- PVC pipe or perforated drain pipe for water flow
- Channel drain kit if installing a trench drain
- Landscape fabric to prevent clogging
- Concrete saw for cutting existing slabs
Planning ahead ensures a smoother installation and long-lasting results for your patio drainage project.
Step 4: Mark and Measure the Drain Area
Start by measuring the areas where water tends to collect on your patio. Accurate markings ensure your drainage system works effectively.
- For a channel drain: Draw a straight line across the patio where water naturally flows. Make sure the drain sits slightly lower than the surrounding surface.
- For a French drain: Mark the path of the trench leading away from the patio.
Always check that water will flow downhill. Use a level to confirm the slope before digging. Proper measurement now makes the installation much easier later.
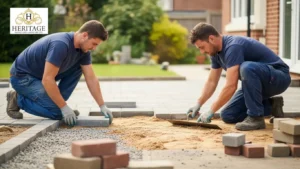
Step 5: Cut or Dig the Trench
This is where the real work starts. The trench depth and slope are critical to a long-lasting patio drainage system. Follow the right steps for your chosen solution:
Channel Drain
- Cut the line – Use a concrete saw to cut along the marked path.
- Remove the section – Carefully lift out the cut concrete.
- Dig the trench – Make it 4 to 6 inches deep to fit the drain and gravel.
French Drain
- Dig the trench – Aim for 12 to 18 inches deep.
- Check the slope – Ensure the trench directs water away from the patio.
- Line the trench – Add landscape fabric to prevent soil and debris from clogging the pipe.
Properly cutting and digging the trench now makes the rest of the installation easier and ensures your drainage system works efficiently for years.
Step 6: Add Gravel Base
Pour a layer of gravel at the bottom of the trench. Gravel is essential for a long-lasting patio drainage because it:
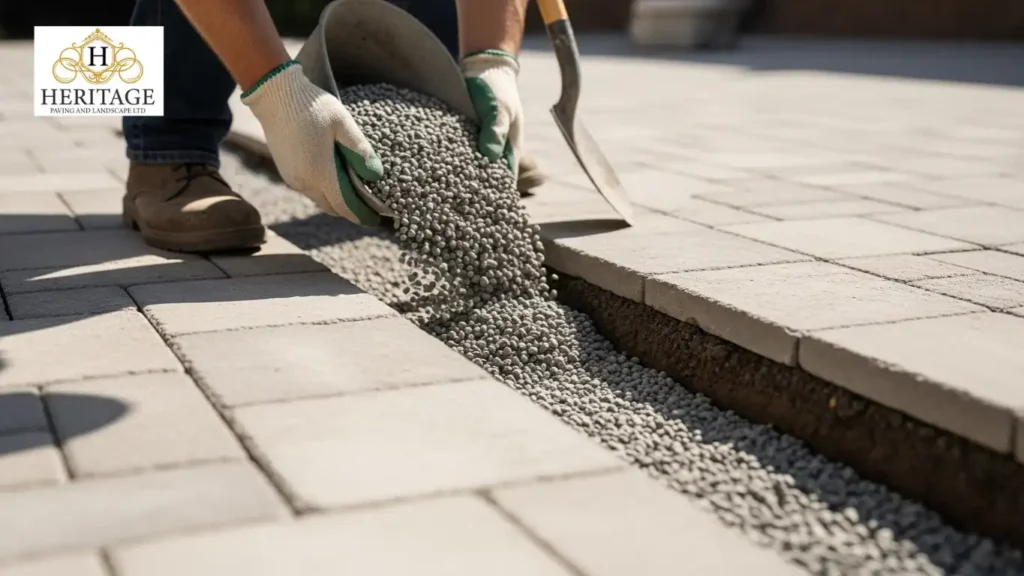
- Improves water flow by letting water move easily toward the drain
- Prevents clogging by keeping soil and debris away from pipes
- Keeps pipes stable and properly supported
Make sure the gravel is level before placing your pipe or drain channel. A smooth, even base ensures your patio drain works efficiently and lasts for years.
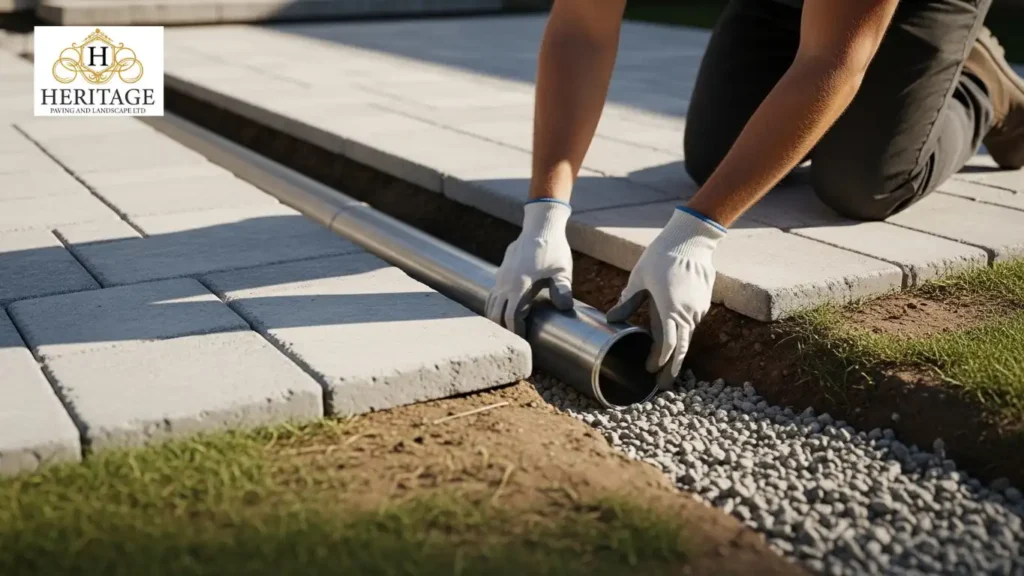
Step 7: Install the Drain Pipe or Channel
This step forms the core of your patio drainage system. How you install it depends on the type of drain you chose.
Channel Drain
- Place the drain into the trench.
- Connect the outlet pipe to direct water away.
- Check the grate – it should sit slightly below the patio surface for smooth water flow.
French Drain
- Lay the perforated pipe on top of the gravel.
- Position the holes downward so water enters the pipe efficiently.
- Cover with more gravel and wrap the top with landscape fabric before adding soil.
Following these steps ensures your patio drainage for patio works effectively and keeps your outdoor space dry.
Step 8: Connect to a Drainage Outlet
Water needs a clear path to leave your patio. Choose an outlet that safely carries water away from your home. Common options include:
- Street curb
- Storm drain
- Dry well
- Lower part of your yard
Always make sure the water does not flow toward your neighbour’s property. Properly directing water keeps your patio and yard safe from damage.
Step 9: Test the System
Before finishing up, make sure everything works properly:
- Pour water over the patio to simulate rainfall.
- Watch the flow and see where the water goes.
- Check for pooling or leaks along the trenches or drains.
If the water moves smoothly away from the patio with no standing spots, you’ve done it correctly, and your drainage solution is ready to handle real rain.
Step 10: Seal and Finish
The final step is to tidy up and secure your drain.
Channel Drains
- Pour fresh concrete around the edges of the drain.
- Smooth it out so it matches the patio surface.
French Drains
- Cover the trench with soil or decorative stone to blend with your patio.
Once finished, your patio should stay clean and dry, even after heavy rain, giving you a safe and enjoyable outdoor space.
Common Patio Drainage Mistakes to Avoid
Many homeowners run into problems because of simple mistakes. Common errors include:
- Skipping slope measurements – water won’t flow properly without the right angle
- Installing drains too high – causes pooling instead of drainage
- Using the wrong pipe size – limits water flow and can clog easily
- Forgetting a proper outlet – water has nowhere to go
These errors often lead to recurring drainage issues. Take your time, measure carefully, and dig thoughtfully to get it right the first time.
Maintenance Tips for Long-Term Results
Even the best drainage setup needs a little care to keep working properly. Follow these simple tips:
- Clean drain grates regularly to prevent blockages
- Remove leaves and debris that can clog pipes
- Flush pipes once a year to clear any buildup
- Check for clogs after storms to ensure smooth water flow
Regular maintenance keeps your patio safe, dry, and ready for year-round use.
When to Call a Professional
Many drainage solutions can be installed yourself, but sometimes it’s best to get expert help. Consider calling a professional if:
- Your patio slopes toward the foundation – water could damage your home
- You notice water inside your basement – this indicates serious drainage issues
- The drainage path crosses utility lines – safety is critical
- The project requires major concrete removal – advanced tools and experience are needed
Some drainage setups can be complex, and a professional ensures the job is done safely and effectively.
For reliable patio drainage and lasting results, trust a local paving contractor in Essex and nearby areas. Their experts handle everything from planning to installation.
Conclusion
Proper patio drainage keeps your patio safe, dry, and looking great. Standing water, cracks, and slippery surfaces can cause costly damage if ignored. This guide helps you identify water problems, choose the right solution, and install and maintain drains for lasting results.
For complex patios or installations, rely on a trusted paving company in Essex. Their experts handle everything from planning to installation, giving you a dry and worry-free patio for years to come.
FAQs
How do I know if my patio needs drainage?
Common signs include puddles after rain, moss or algae growth, cracked pavers, or water near your home’s foundation. If any of these appear, it’s time to consider a drainage solution.
Which patio drainage system works best in areas with heavy rainfall?
French drains and properly sloped channel drains are ideal in areas prone to heavy rainfall. They handle large volumes of water and reduce the risk of pooling or erosion.
How long does a patio drainage system last?
With proper installation and maintenance, a well-built drainage system can last 10–20 years, depending on materials and environmental conditions.
Can I add drainage to an existing patio?
Yes. You can retrofit drains into existing patios using channel drains, French drains, or regrading. Cutting concrete or lifting pavers may be needed for some systems.