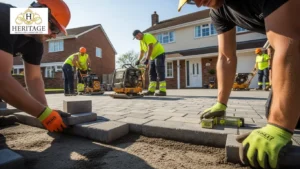
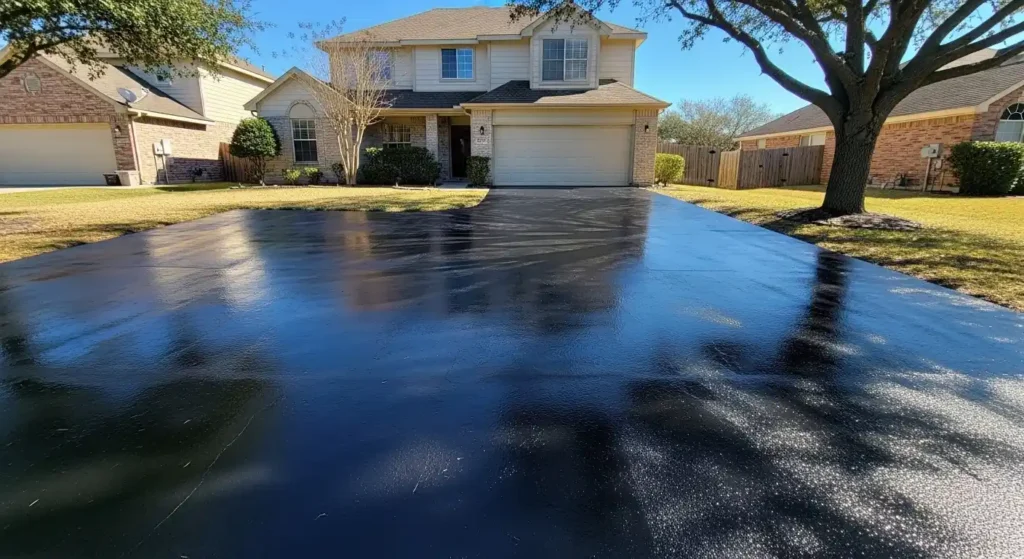
A clean and protected driveway boosts your home’s appearance and helps the surface last longer. Sunlight, rain, oil, and daily traffic slowly damage the driveway, which leads to cracks and fading. Sealing a driveway adds a strong protective layer that keeps the surface smooth, prevents wear, and reduces future repairs.
Sealing a driveway is not a complicated job. With the right driveway sealant steps, anyone can do it. Many people who seal a driveway themselves prefer to do it themselves, while others prefer professional driveway sealing services for perfect results. This guide explains how to seal a driveway, the full process in simple words, and gives you everything needed for a long-lasting, smooth, and protected driveway.
Tools and Materials Needed
Before you start sealing a driveway, keep all your tools for sealing a driveway in one place, so the work goes smoothly.
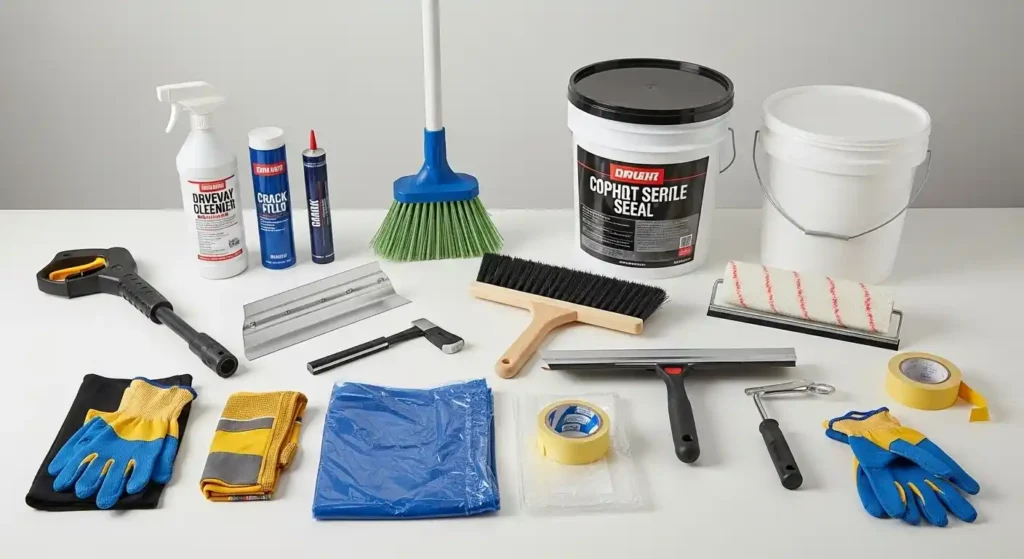
Here are the basic items you will need:
- Driveway cleaner or degreaser
- Pressure washer or stiff broom
- Crack filler or patching mix
- Asphalt sealer or concrete sealer
- Large brush, squeegee, or long-handle roller
- Protective gloves and old clothing
- Plastic sheets or painter’s tape for edges
- Bucket for mixing
Having everything ready makes the driveway sealing process easier and helps you finish faster.
How to Seal a Driveway: A Complete DIY Guide
Here is a step-by-step driveway sealing guide from start to finish. Each step helps create a smooth, long-lasting result.
1. Clean the Driveway Surface
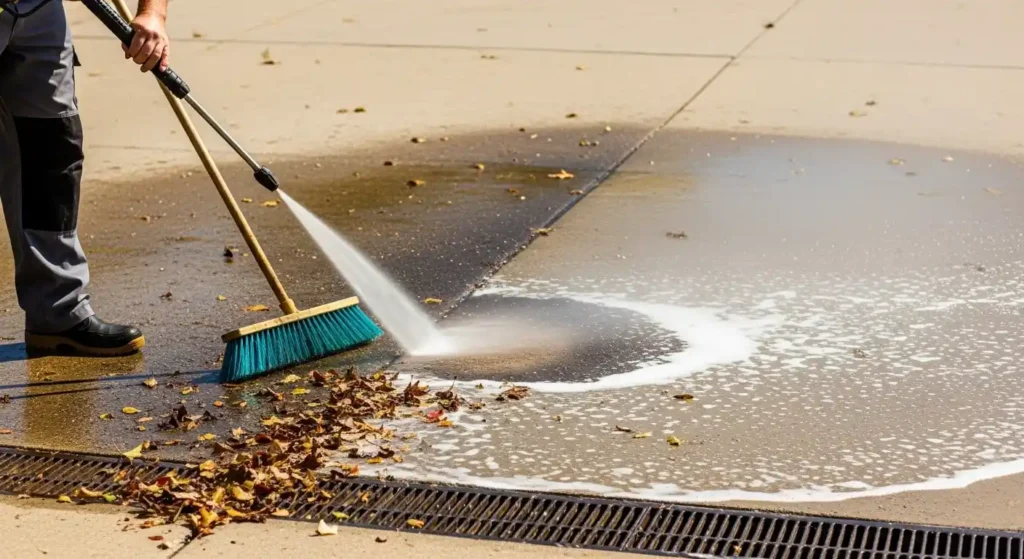
A clean surface allows the driveway sealant to bond firmly. Sweep away leaves, dirt, and dust, and use a pressure washer for stubborn grime, deep stains, and old marks. A pressure washer helps clean deep stains and old marks. Oil and grease spots need a cleaner or degreaser, so scrub those areas well and rinse them properly. The driveway needs to be clean and dry before moving to the next step. A clean surface helps the sealer for driveways stick better and gives a smooth finish.
2. Repair Cracks and Holes
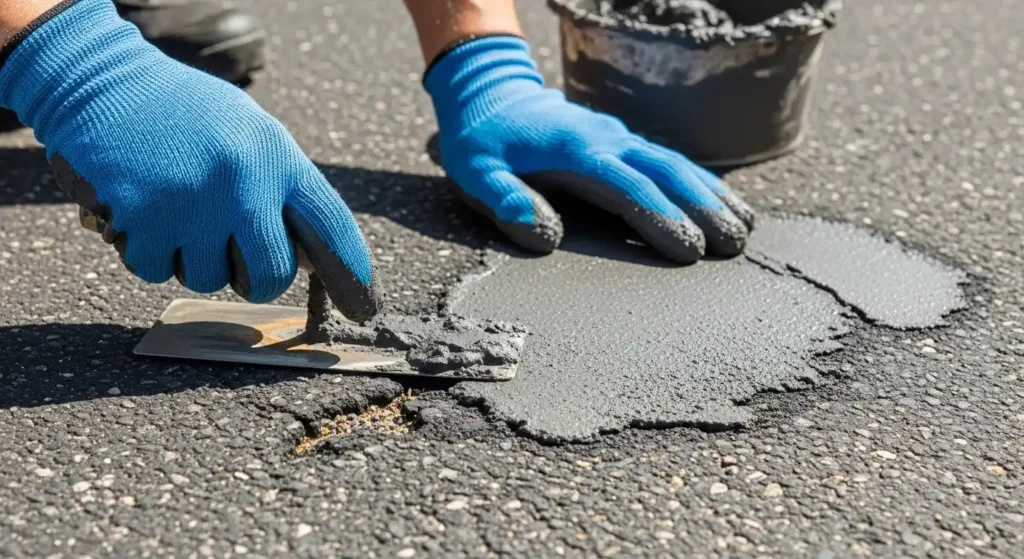
A strong, long-lasting driveway seal coat needs a smooth surface. Fixing these areas early helps protect the driveway and gives a better finish. Use crack filler for small lines and a patching mix for deeper holes. Fill each spot carefully and smooth it with a trowel or scraper. Let the repaired areas dry completely. A smooth surface helps the sealer spread evenly and last longer.
3. Block Off the Area
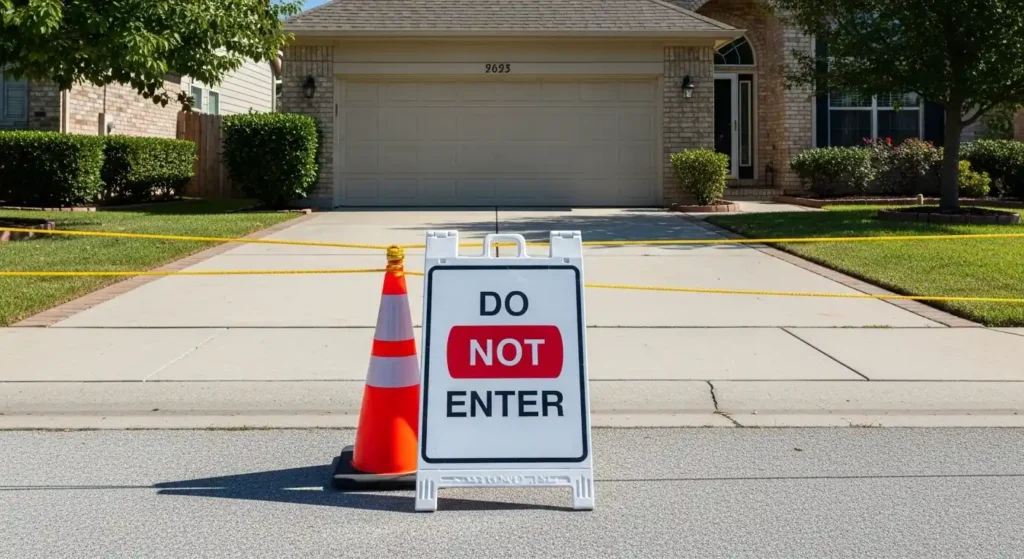
After cleaning and repairing the driveway, keep people, pets, and cars away from the area. Use cones, ropes, or simple barriers. This prevents footprints, tyre marks, and smudges on the fresh sealer and helps it dry evenly.
4. Mix the Sealer Properly
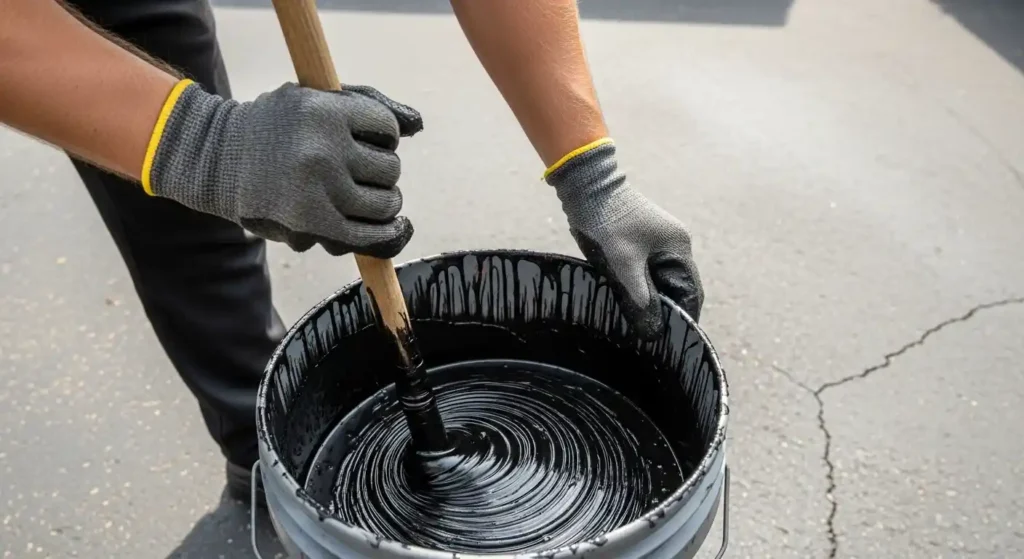
The sealer can separate in the container, with heavier particles sinking to the bottom. Stir it well with a shaking or stirring of the container until it is even. Proper mixing ensures the sealing coating spreads smoothly and dries with a strong, even finish.
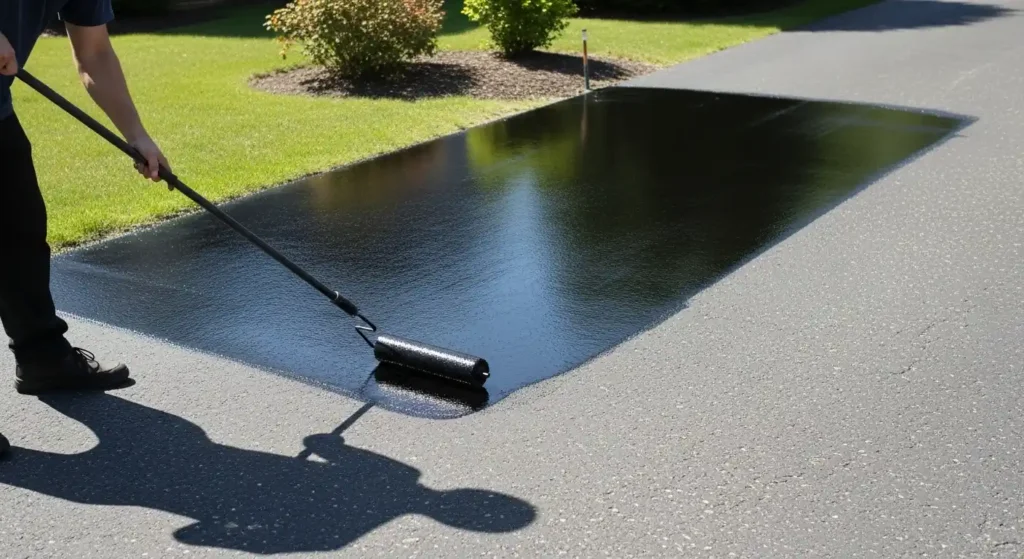
5. Apply the First Coat
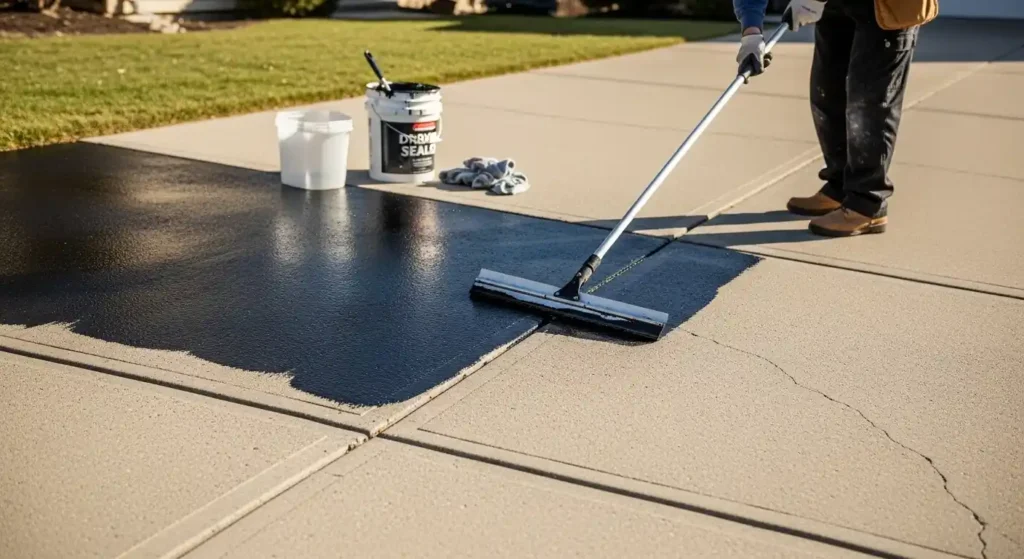
Start at the top of the driveway and work toward the entrance. Pour a small amount of sealer onto the surface. Spread it evenly using a squeegee, brush, or roller. Work in small sections and move in the same direction for a smooth finish. A thin coat works better than a thick one because it dries evenly and sticks well. Continue until the whole driveway has one complete layer.
6. Apply a Second Coat for Extra Protection
After the first coat dries, look at the driveway. Older or worn driveways do better with a second thin coat. This layer adds extra strength, shine, and protection from weather conditions. Apply it the same way as the first coat. Two thin coats last longer and protect better than one thick coat.
7. Allow Enough Drying Time
Let the driveway dry completely before using it. Keep people, pets, and vehicles away during this time. Most sealers need a full day or more to dry. Warm, sunny weather helps the driveway sealing process. A fully dried surface gives strong protection and a smooth, clean finish.
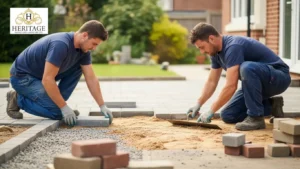
Don’t want to do it yourself? Hiring a professional paving and landscaping company provides expert service and the correct equipment to complete the job quickly and effectively.
Best Time to Seal a Driveway
The best time for asphalt sealing or concrete driveway sealing is in warm, dry weather. The temperature should be between 15°C and 30°C for proper drying and bonding. New asphalt driveways need several months to settle before the first seal. Driveways with heavy use or in harsh weather should be sealed every two to three years for long-lasting protection.
Tips for a Long-Lasting Seal
Follow these tips for the best DIY driveway sealing results:
- Clean the driveway often to remove dirt, dust, and leaves: Dirt and debris can block the sealer from sticking properly, reducing its effectiveness.
- Use the right sealer for asphalt or concrete: Choosing the correct type ensures proper bonding and long-lasting protection.
- Apply thin, even coats instead of thick layers: Thin coats dry faster, avoid peeling, and provide a smoother finish.
- Choose warm, dry days for sealing: Dry weather helps the sealer cure evenly and strengthens its protective layer.
- Sweep and wash the driveway regularly: Regular cleaning removes grime and extends the life of both the seal and the driveway surface.
These tips help maintain your sealed driveway and extend the life of your driveway reseal.
Common Mistakes to Avoid
Avoid these errors for a strong, smooth driveway seal:
- Applying sealer on a wet or dirty surface
- Using too much sealer at once
- Ignoring cracks or holes during preparation
- Selecting the wrong product for the driveway material
- Allowing traffic on the driveway too soon
- Working during rainy or very cold weather
Avoiding these errors helps create a strong, smooth, and durable finish.
Conclusion
Sealing a driveway protects it from weather, wear, and damage. It makes the surface stronger and keeps your home looking neat. Following the right steps, such as cleaning, repairing, mixing, applying, and drying, gives a smooth, long-lasting finish. Some homeowners do DIY driveway sealing while others hire professionals for the best results. Regular maintenance and proper sealing help your driveway last longer and stay in good condition.
FAQs
How do I know when my driveway needs sealing?
Look for cracks, fading, water absorption, or a rough texture. If the surface looks worn or water no longer beads up, it’s a good time to seal your driveway.
Can I seal my driveway in any weather?
No. The best results are achieved on warm, dry days, ideally between 15°C and 30°C. Avoid sealing during rain, very cold weather, or immediately after snow or heavy moisture.
What type of sealer should I use for my driveway?
Use a sealer appropriate for your driveway material. Asphalt driveways need asphalt sealer, while concrete or resin driveways require a compatible concrete sealer.
How long does a driveway sealer last?
Sealers typically last 2–3 years, depending on traffic, weather conditions, and how well the surface was prepared before sealing.
Can I seal my driveway myself, or should I hire a professional?
DIY sealing is possible with the right tools and preparation, but hiring a professional ensures expert application, especially for larger or older driveways.